English
One laptop, every machine at home
You install an agent on two more machines at home, the Linux machine server and the Windows computer desktop. A Mac laptop named laptop then opens a shell on each machine, shows desktop's screen and opens VS Code on the hub box, all from one client window.
Before you start
- You have done the Step zero, so the hub runs on the hub box. The panel lists the box's own agent under its hostname, which this page writes as
hub. - You have root through
sudoonserver, and an administrator account ondesktopand onlaptop. - All four machines are on the same LAN, where every step runs.
Enroll server
On the panel's Devices page, select Add by link.
Select Copy. A link joins one machine.
On
server, run the install script for the agent:bashcurl -fsSL https://github.com/iffiX/neutrino/releases/latest/download/install.sh | sh -s -- agentJoin
serverto the hub, replacing<enroll-link>with the link you copied:bashsudo nagent join '<enroll-link>'
server appears under Managed devices on the Devices page.

Enroll desktop
On the Devices page, select Add by link.
Select Copy.
On
desktop, open PowerShell.Run the install script for the agent:
powershell& ([scriptblock]::Create((irm https://github.com/iffiX/neutrino/releases/latest/download/install.ps1))) agentAccept the prompt for administrator rights. The script goes on in a new administrator window.
In that window, join
desktopwith the new link:powershellnagent join '<enroll-link>'
desktop appears under Managed devices beside hub and server.
Join laptop as a client
If laptop has not joined the hub yet, install the client and join it as the Step zero does for a laptop. Its hub row reads Connected · LAN.

Open a shell on each machine
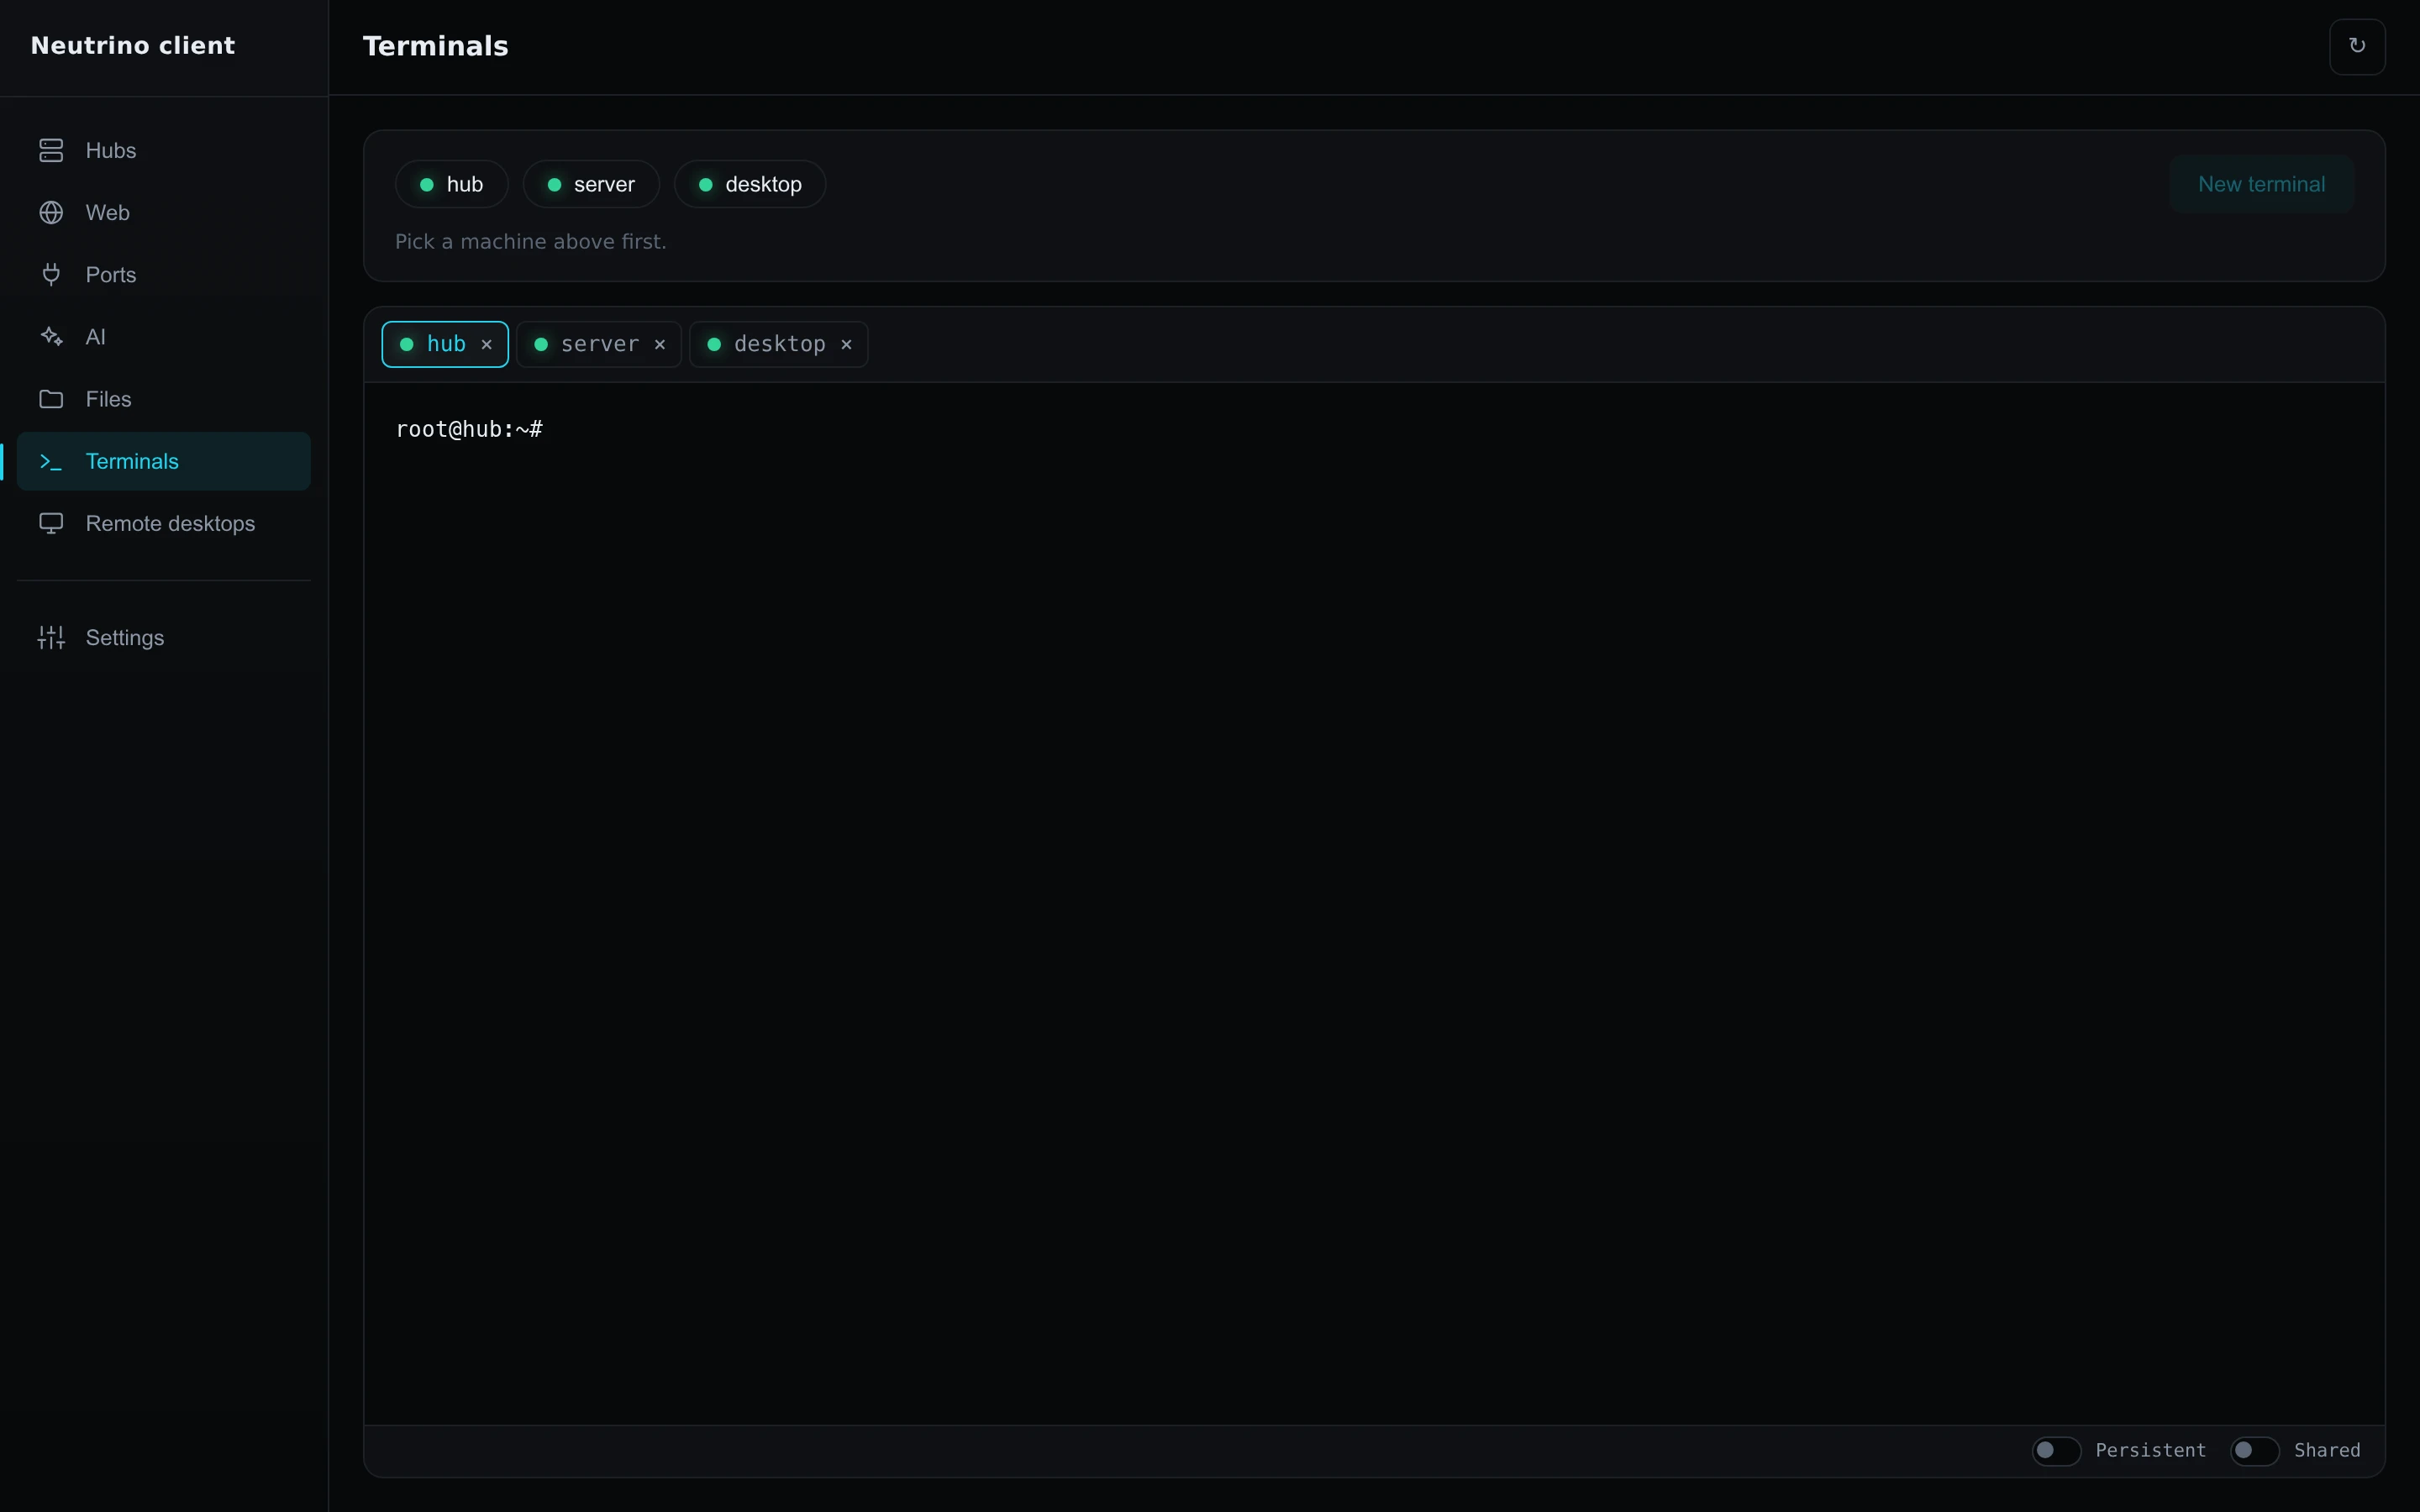
- In the client window, open the Terminals page.
- Pick
hubin the strip of machines at the top of the page. - Select New terminal.
- Pick
server. - Select New terminal.
- Pick
desktop. - Select New terminal.
Each terminal opens in its own tab: a root shell on hub and server, and PowerShell as SYSTEM on desktop.
Share desktop's screen
- On the panel's Modules page, pick
desktop. - On the Remote desktop tab, turn on Share this machine's desktop.
- Select Apply remote desktop.
- If nobody is signed in at
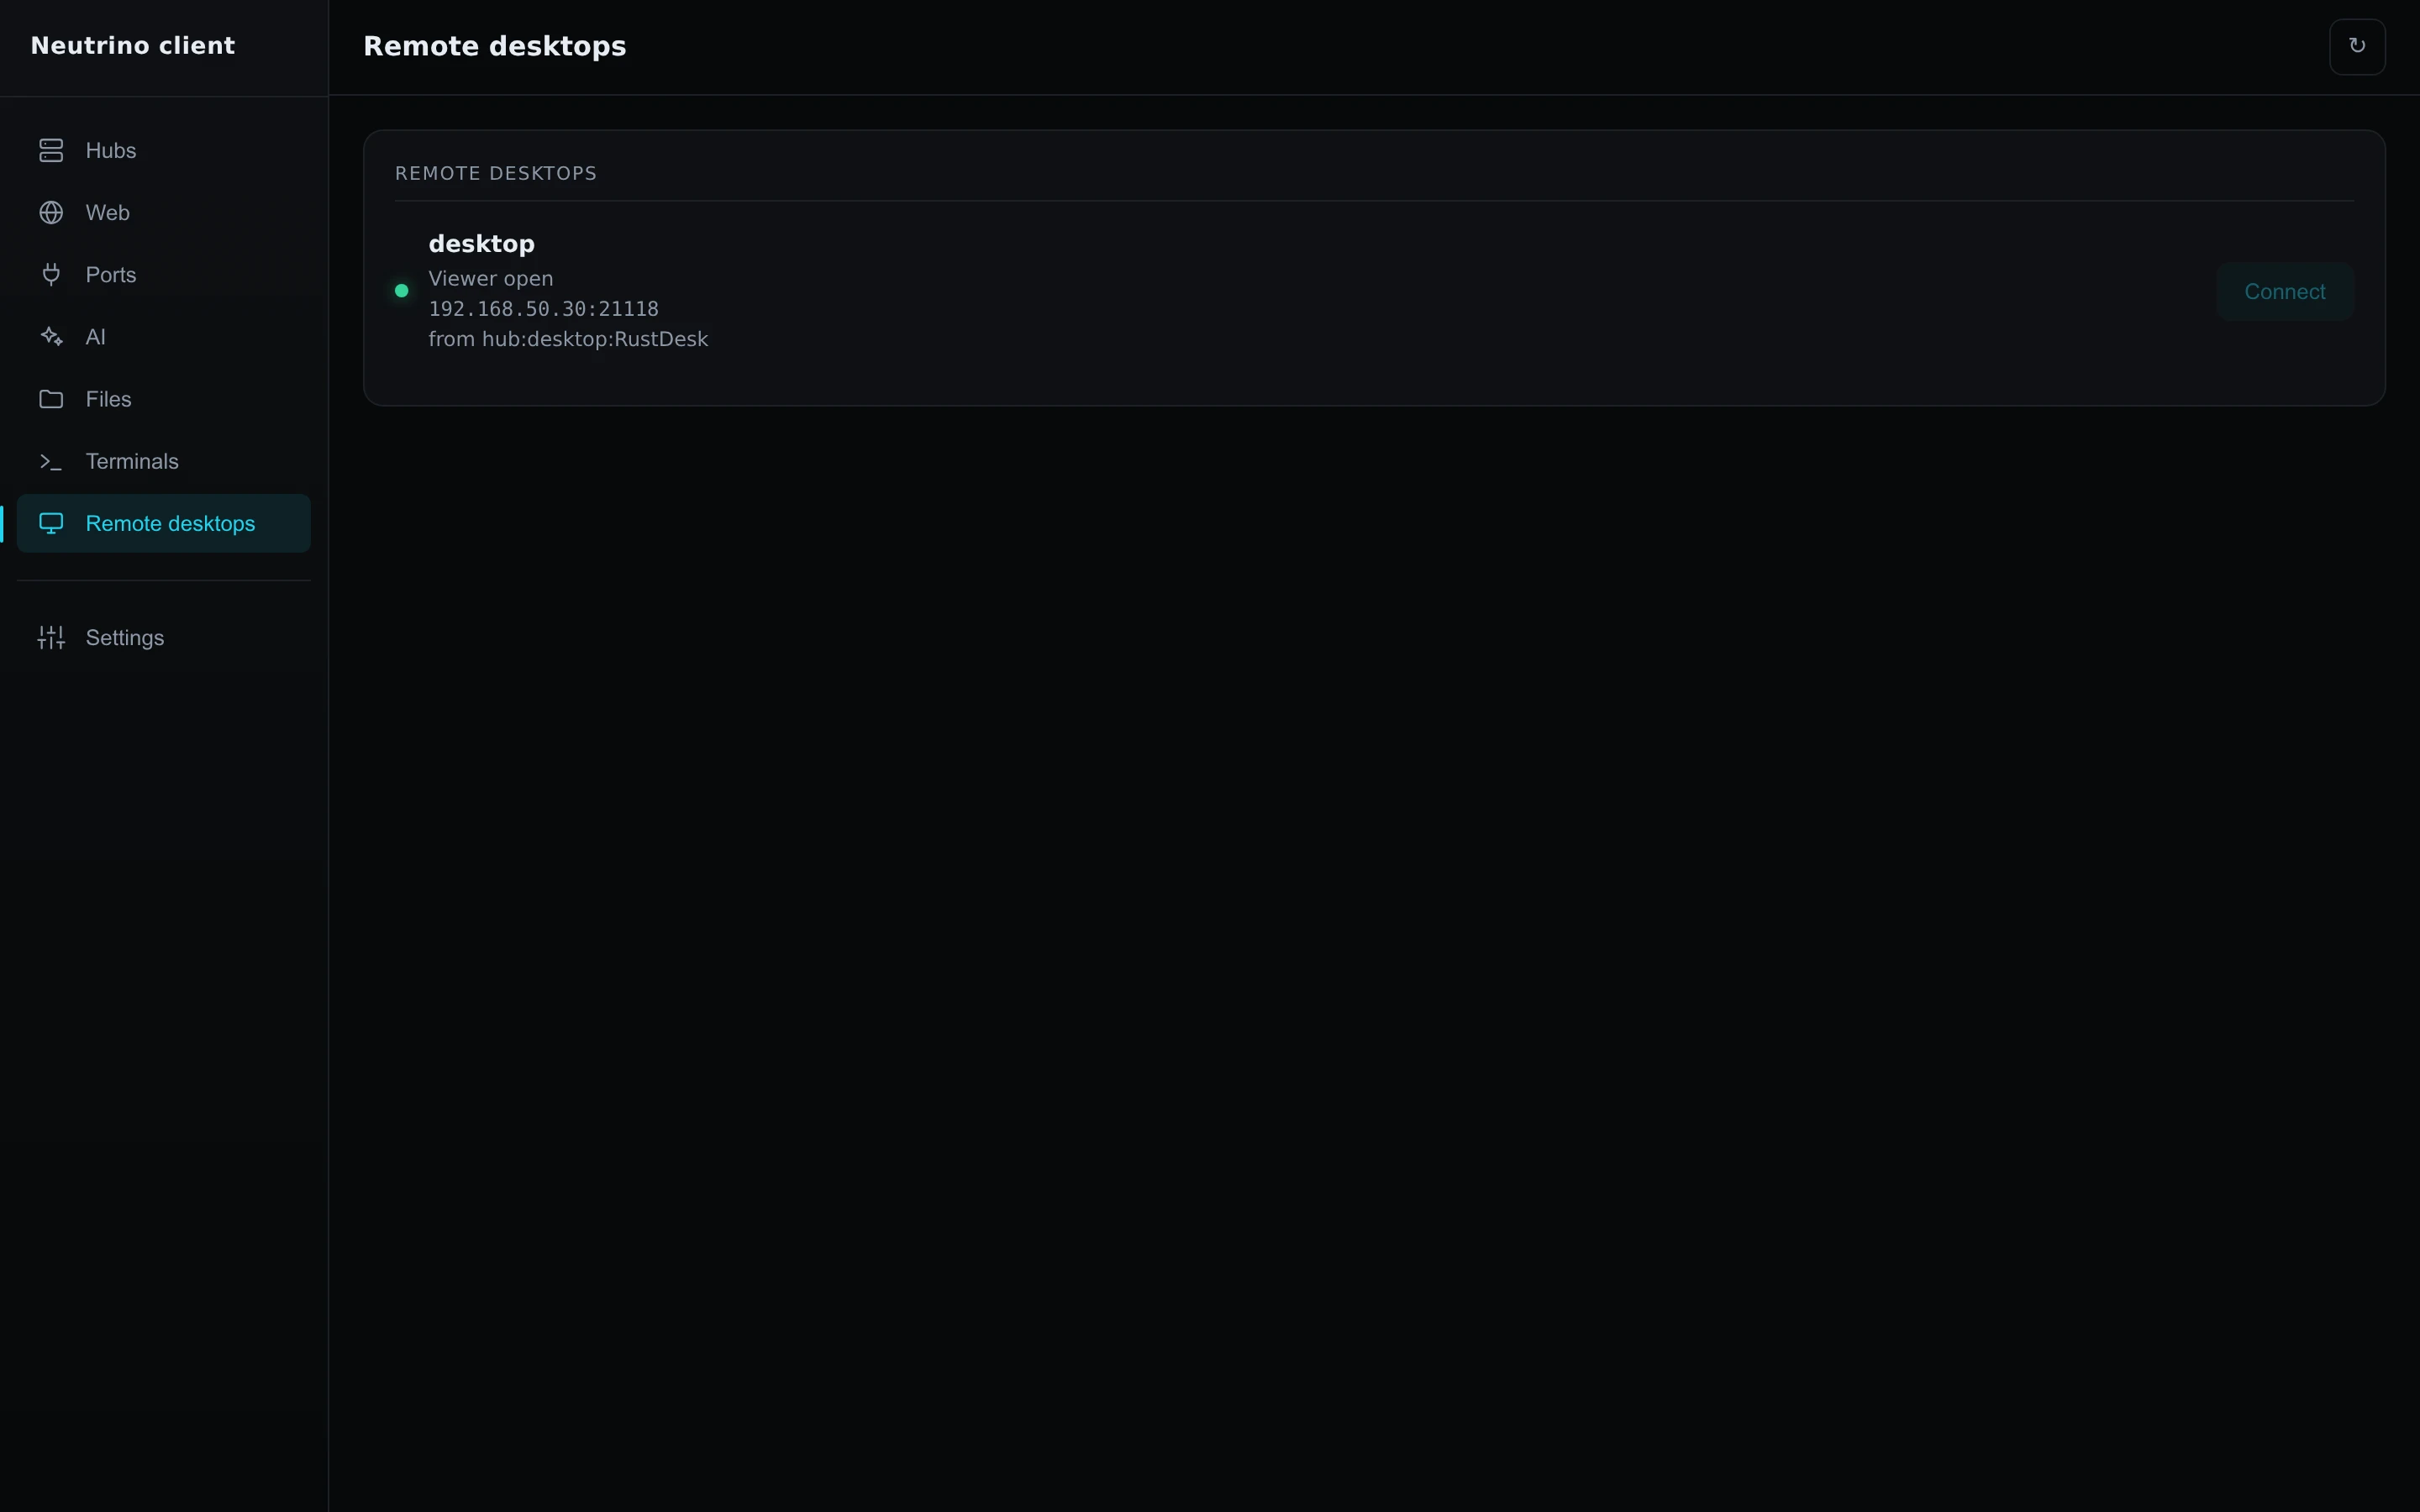
desktop's own screen, sign in to Windows there. - In the client window, open the Remote desktops page.
- On the
desktoprow, select Connect.
The viewer shows desktop's screen, and the row reads Viewer open.
Open VS Code on the hub box
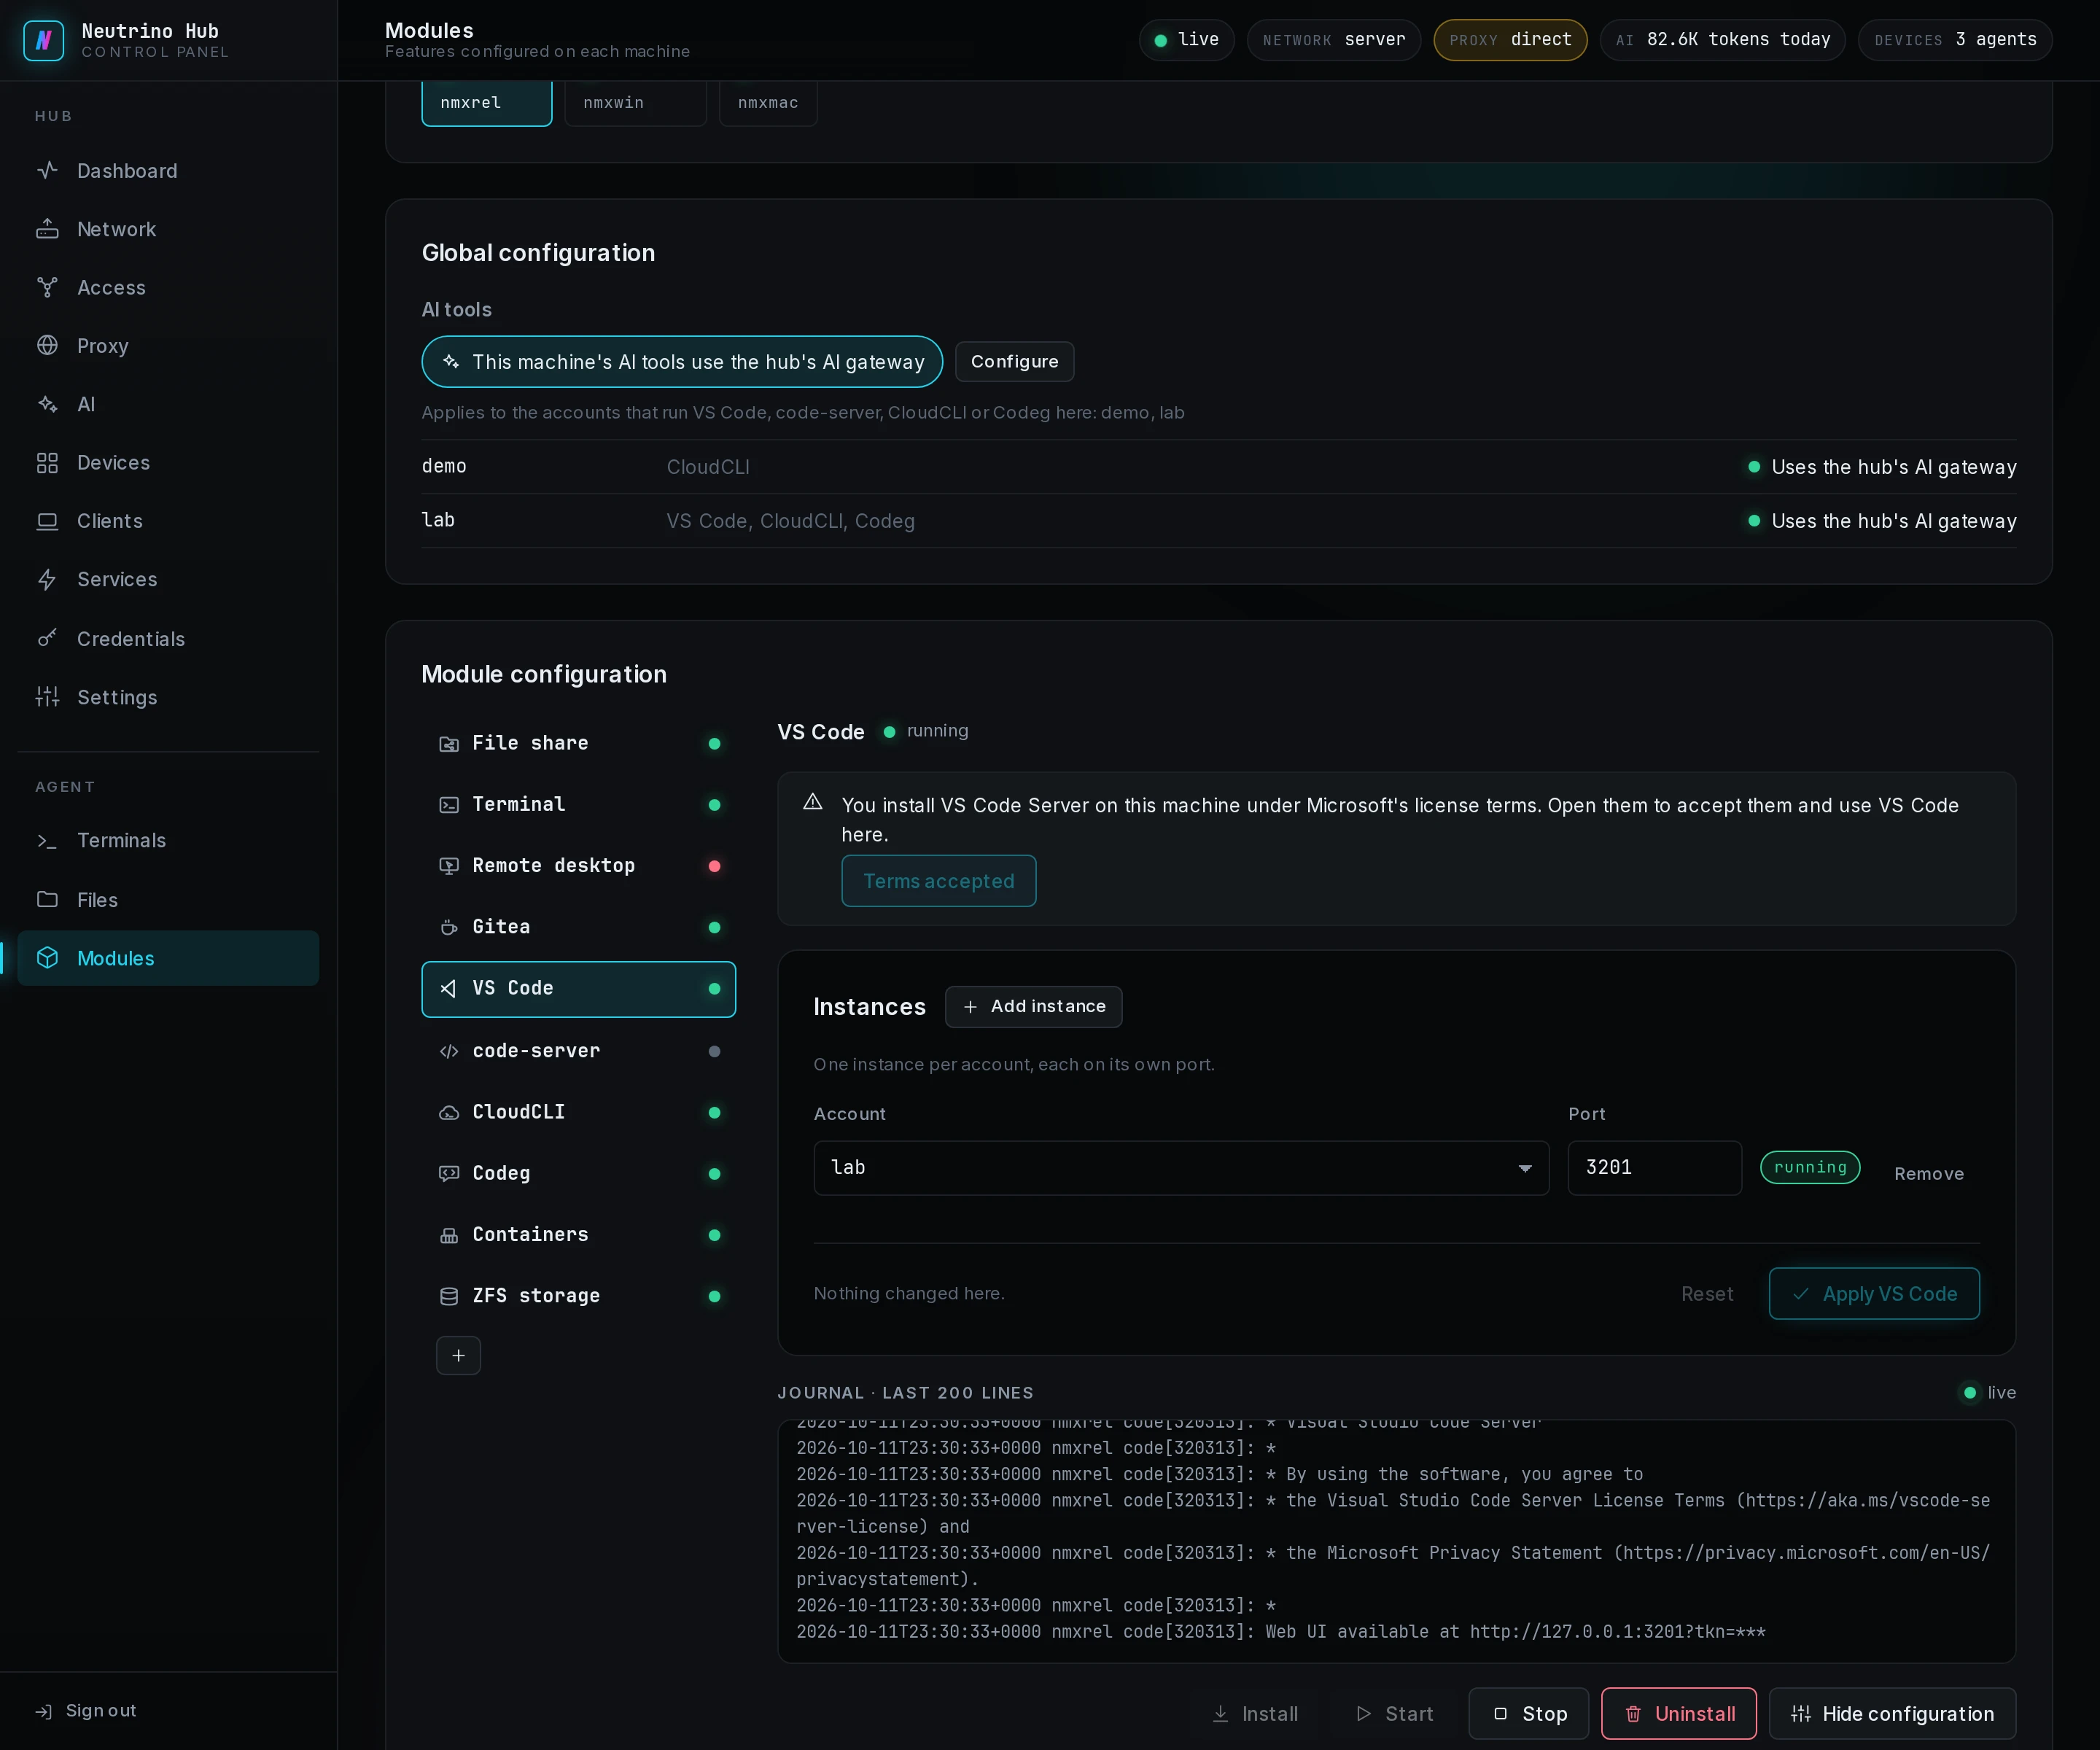
- On the panel's Modules page, pick
hub. - Start a VS Code instance for your own account, as A remote editor describes. The instance's row reads running.
- In the client window on
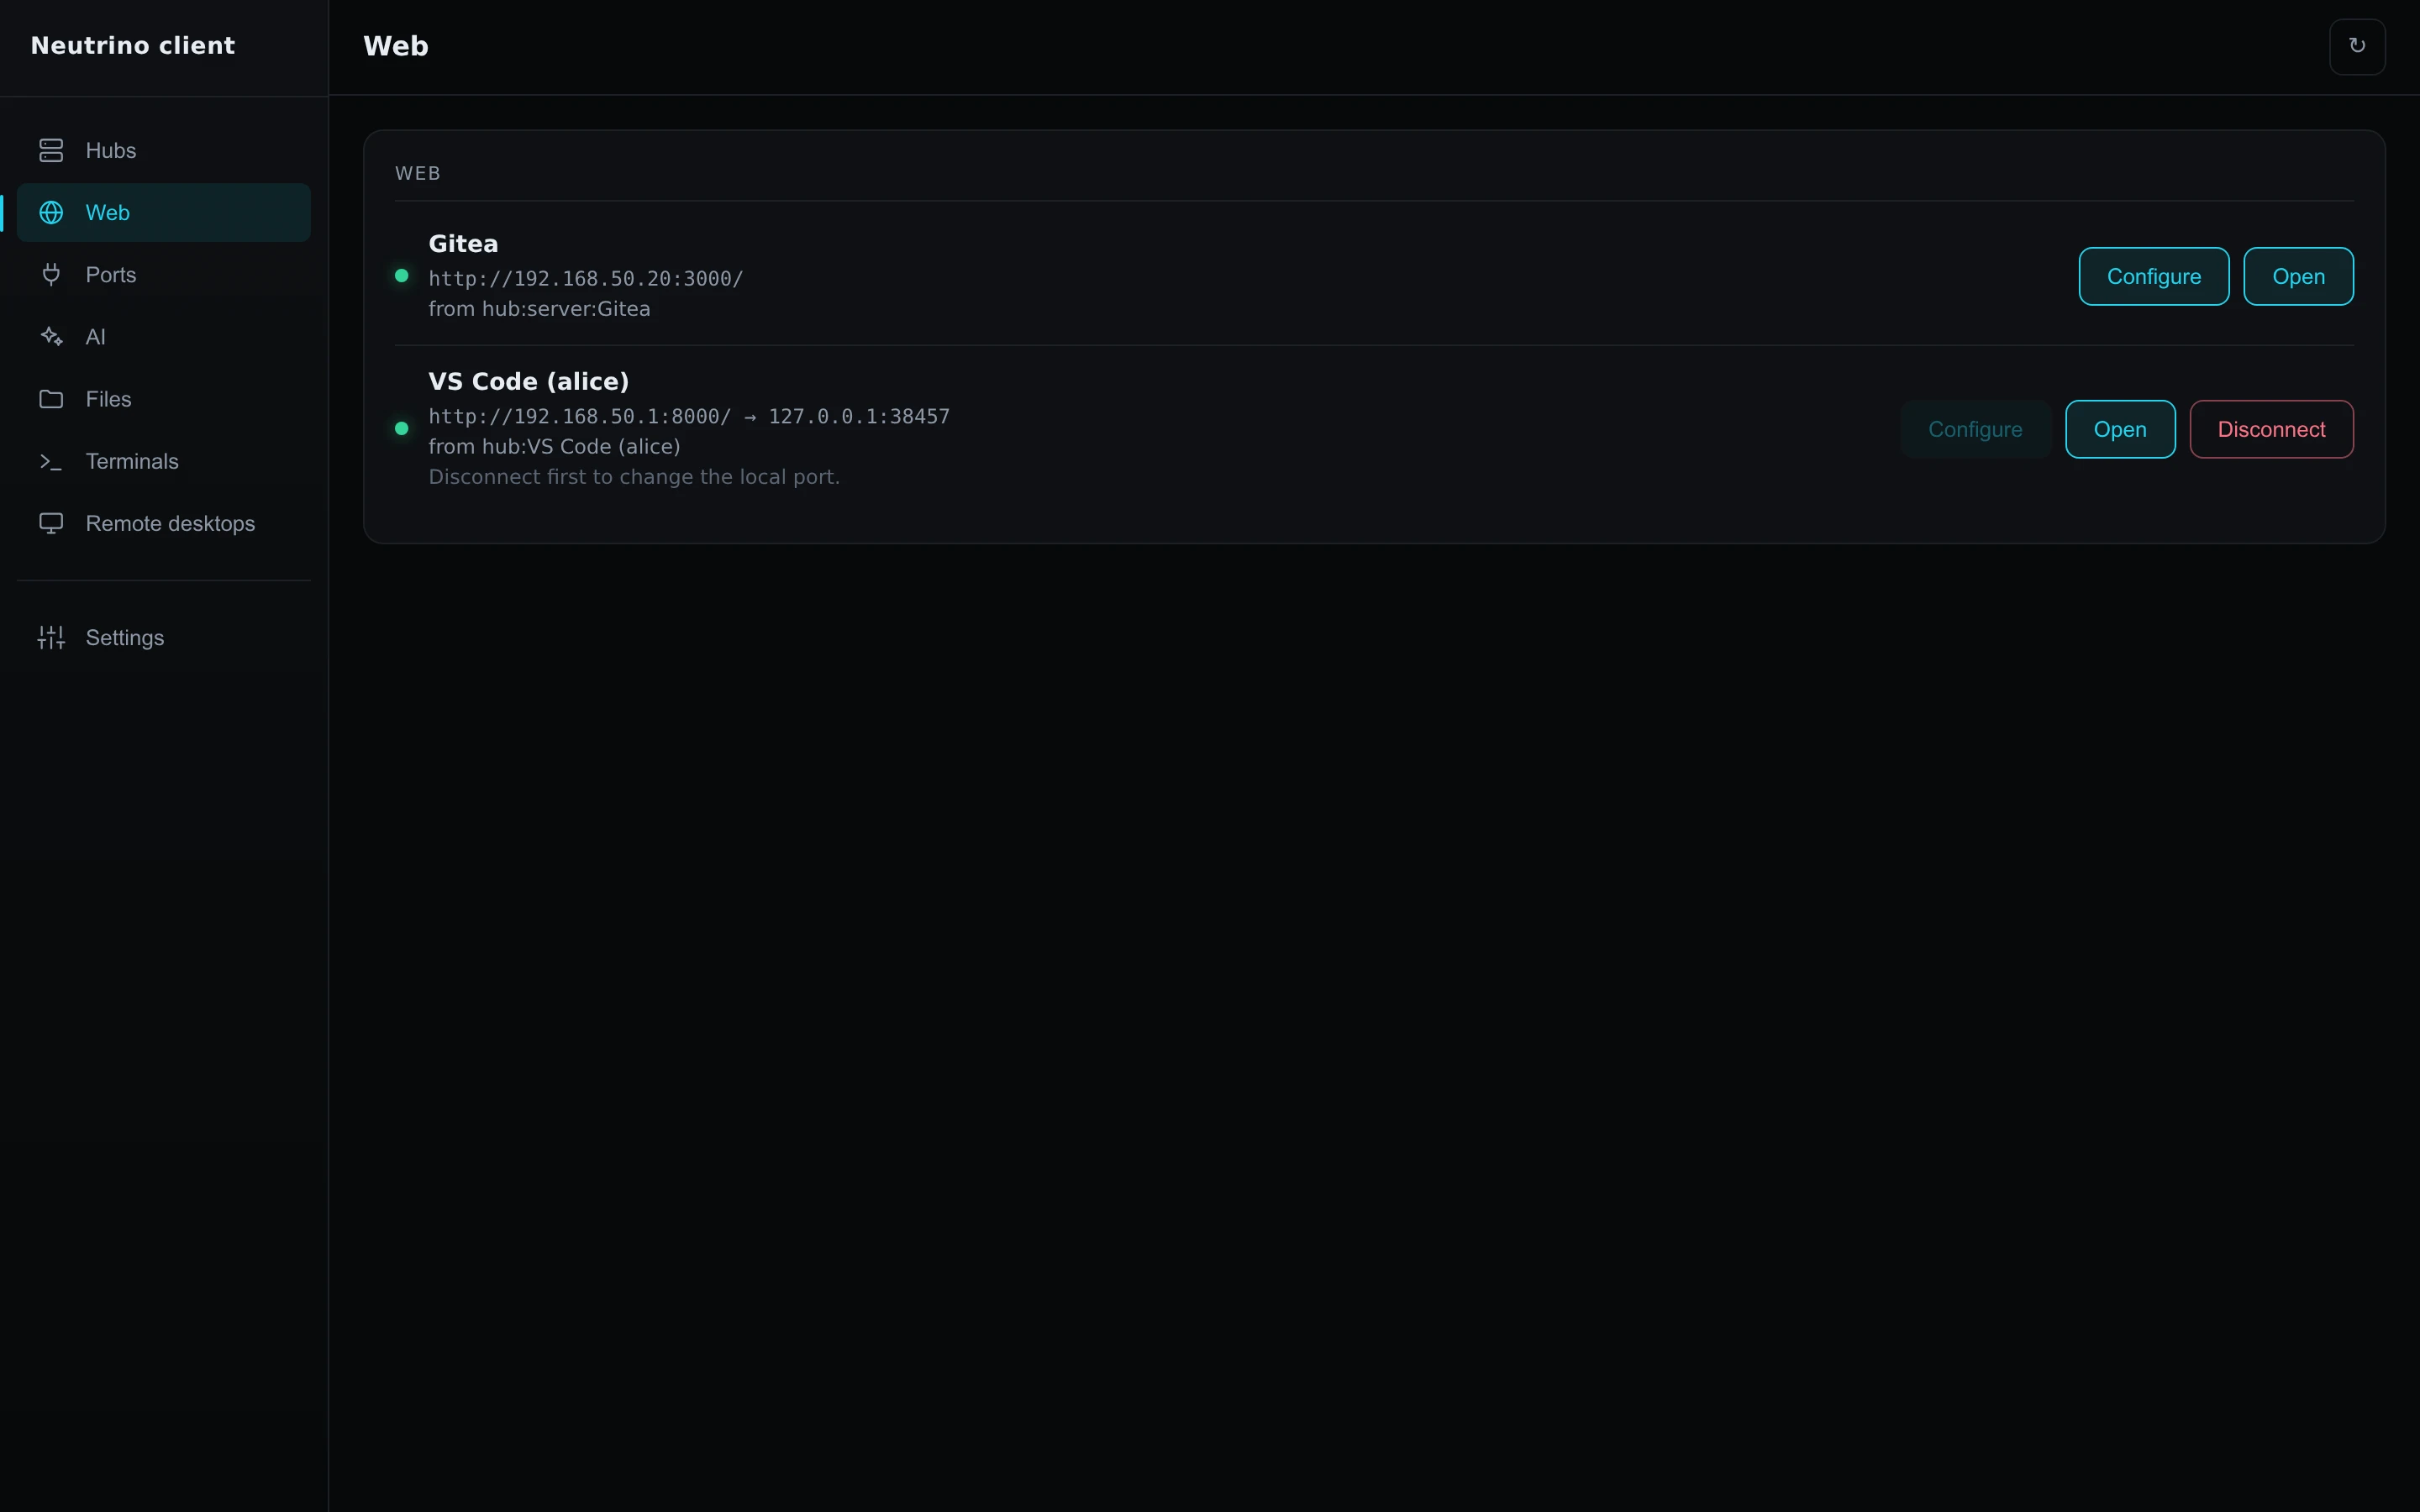
laptop, open the Web page. - On the VS Code row, select Open.
VS Code opens in your browser, on the hub box's files.