
English
Configure a managed machine as a NAS
This page sets up a managed Linux machine with a spare disk as the home's file server, which your laptop and phone open at home and away. On that machine, ZFS storage keeps the files on a pool of disks, and File share serves a folder of the pool over SMB. The hub lists each share on its Services page and relays every client's connection from its port 8443 to the machine's agent. The agent then connects to the share on its own machine.
Before you start
- You have done the Step zero, so the laptop and the phone are clients of the hub.
- A Linux machine runs the agent and is listed under Managed devices; Install an agent covers enrolling one. The hub box's own agent counts too.
- The machine has at least one spare disk. A disk that holds data is erased when it joins the pool.
Install the modules
- On the panel's Modules page, select the machine under Which machine.
- If the ZFS storage or the File share tab is missing, select + at the end of the module list and tick the missing one.
- On the ZFS storage tab, select Install, and wait until the tab no longer reads installing.
- Select Configure.
- On the File share tab, select Install, and wait until the tab no longer reads installing.
- Select Configure.
Outside Ubuntu, the ZFS install adds the package repository that holds ZFS, and builds the kernel module when the distribution provides none. The install also brings smartmontools for the disk health readings.
Create the pool
- On the ZFS storage tab, under Pools, select Create pool.
- Fill Pool name, such as
tank. - Under First vdev disks, tick the spare disks.
- Under Vdev layout, pick Single for one disk or Mirror for two. More disks unlock RAID-Z1 and RAID-Z2.
- If a ticked disk holds data, type
wipein the field that appears. - Select Create pool.
The pool appears under Pools, and Topology draws it with its disks. ZFS storage says how much each layout survives.

Create a dataset
A dataset is a folder of the pool with its own settings, and it is the folder you share.
- Under Datasets, select Add dataset.
- Pick the Pool, and fill Name, such as
media. - Optional: fill Mountpoint. Left blank, the dataset is at
/tank/media. - Pick the Compression and the Record size. For photos and videos, keep
lz4and pick1M. - Select Create dataset.
The dataset's row shows its compression, record size and usage.
Add a share user
A share user is the name and password a client signs in to the share with.
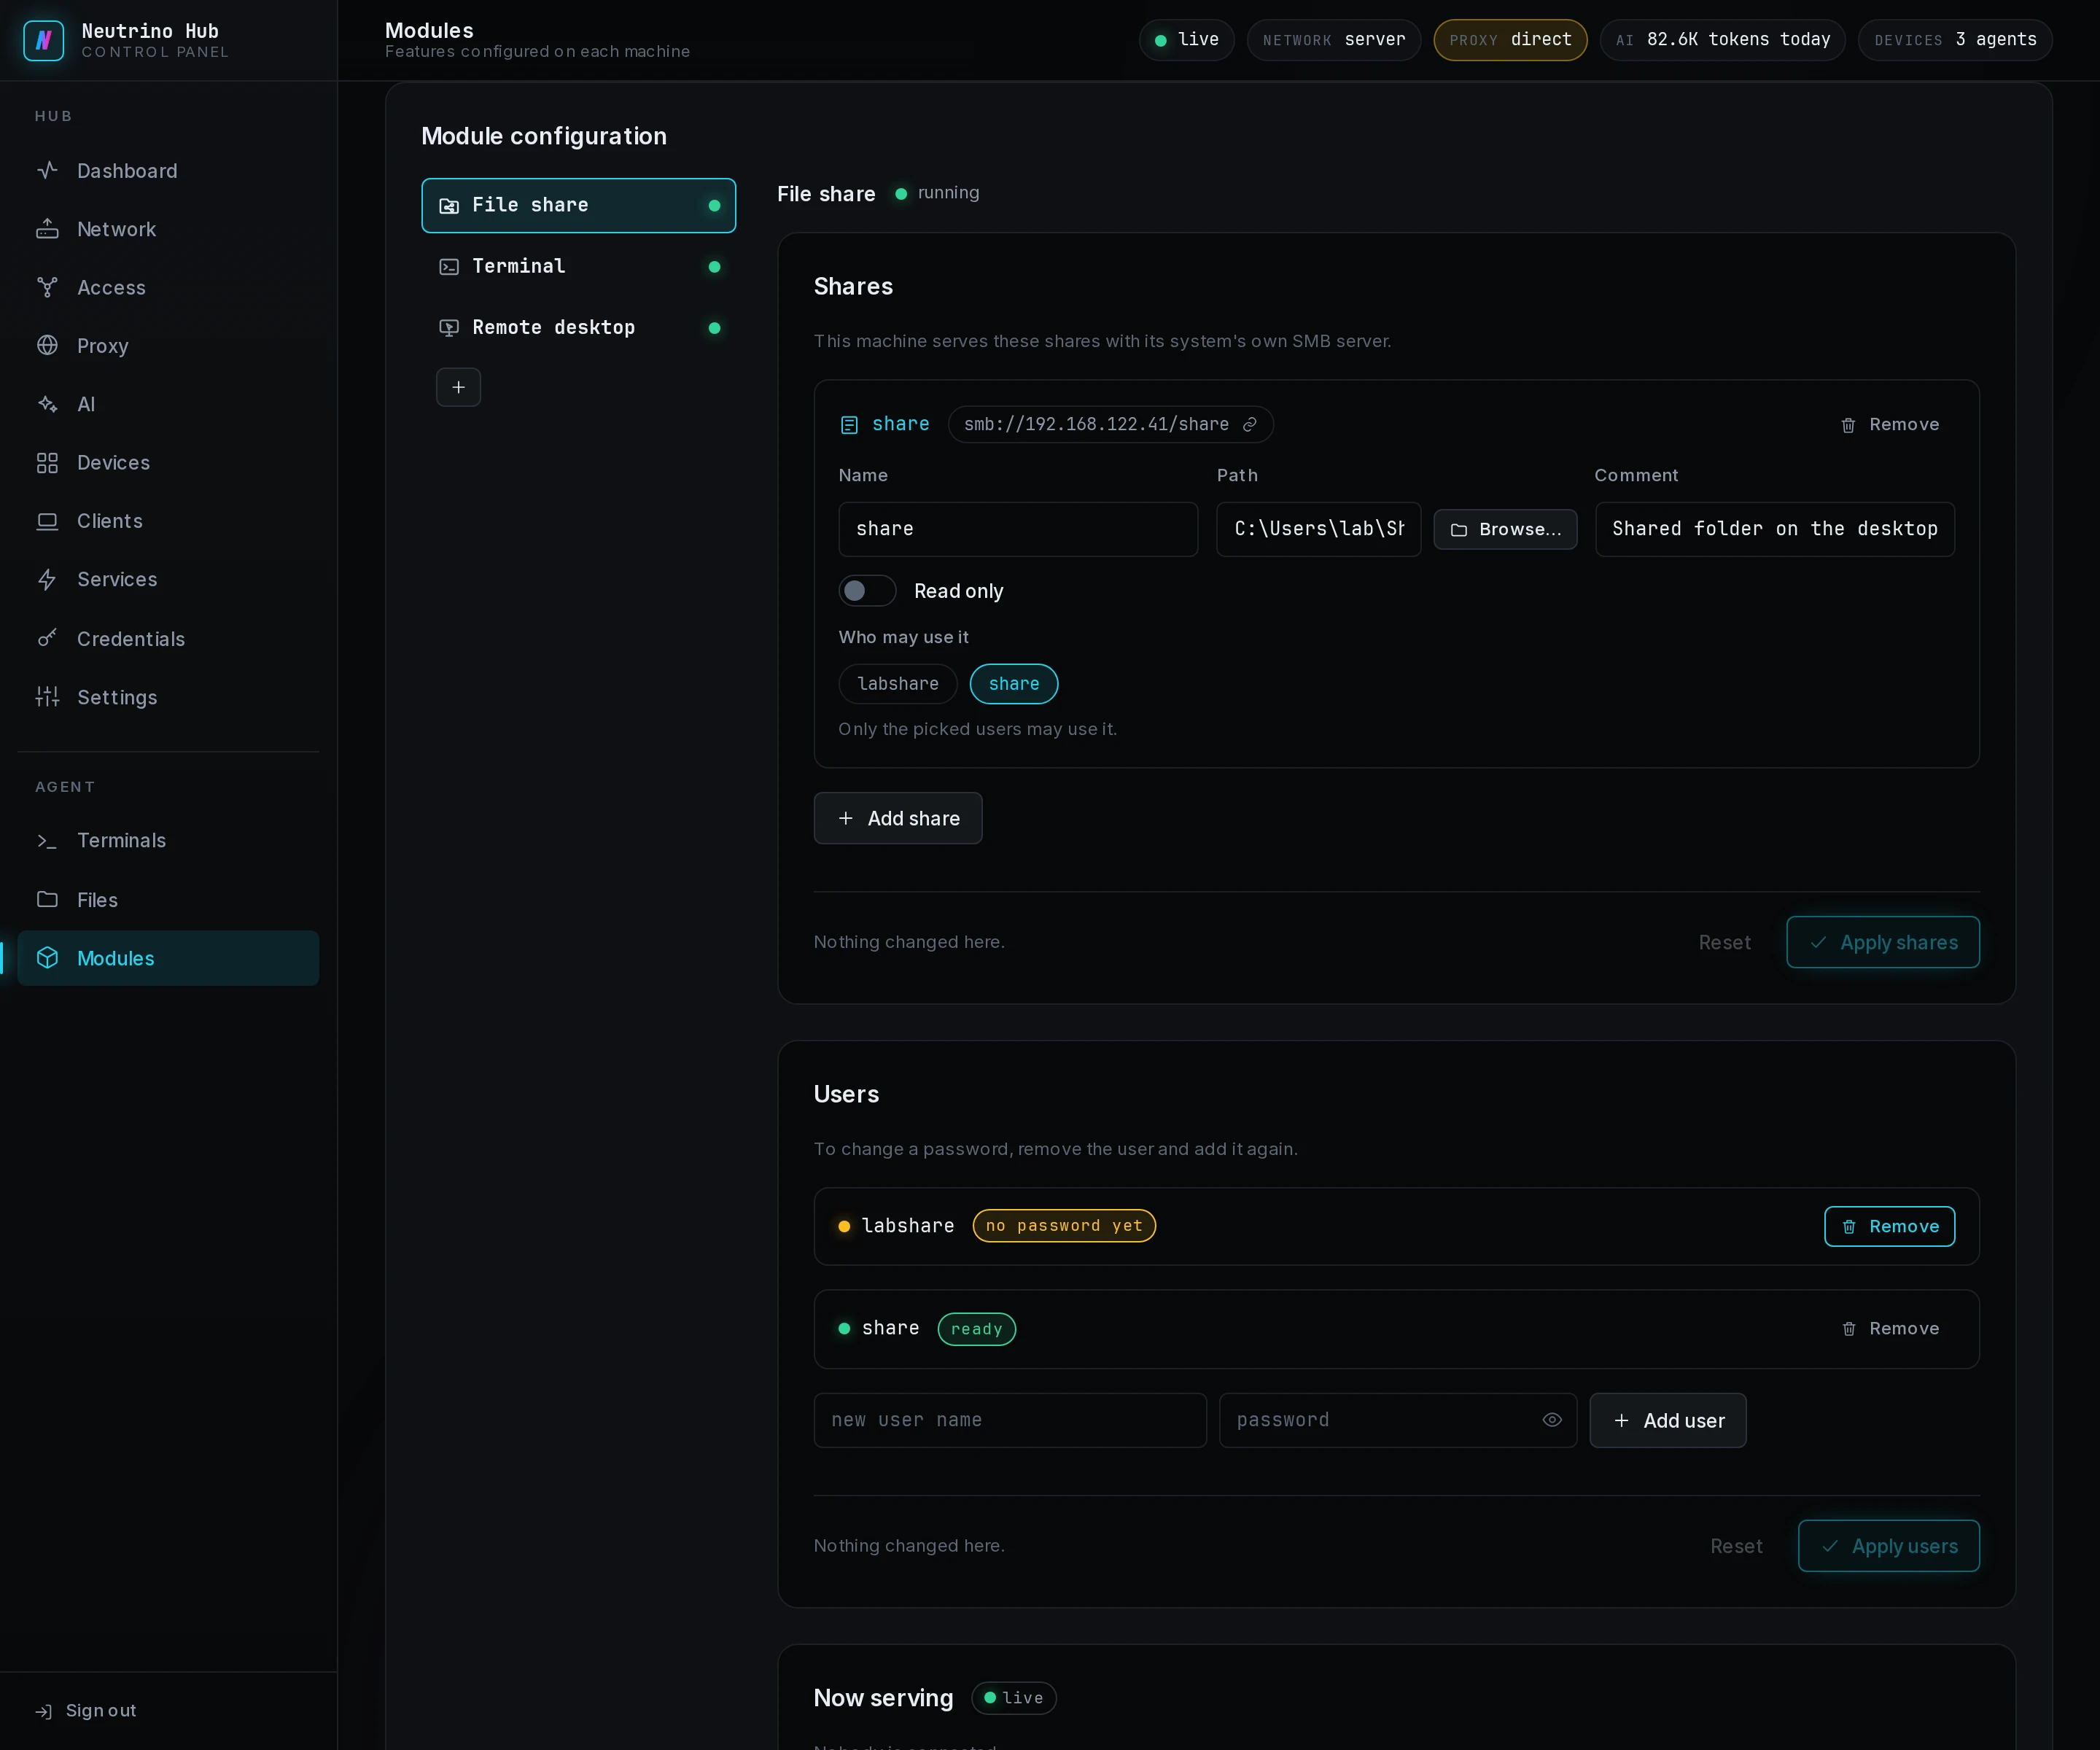
- On the File share tab, under Users, type a new user name and a password, then select Add user.
- Select Apply users. The user's row reads ready.
To change the password later, remove the user and add it again.
Share the dataset
- On the ZFS storage tab, on the dataset's row, select Share. A dialog titled Share and the dataset's name opens.
- Tick the users who can open the share. With none ticked, every user under Users can, including users added later.
- Select Share.
The machine serves the share at once, and the row gets the smb · media badge. The share takes the last part of the dataset's name and serves the dataset's mountpoint for reading and writing. It appears under Shares on the File share tab. Unshare on the row removes the share and keeps the files.
Share stays greyed with Install and start Samba first until the File share tab reads running. You can also add the share by hand on the File share tab, with the dataset's mountpoint as its Path, then select Apply shares. That form also has Read only.
What the Services page shows
The share is a row under Files on the hub's Services page, titled with the share's name and marked with the module chip. It reads serving while the File share module runs, and not serving while it is stopped.
Every client whose permission on the Clients page includes Files lists the share, and that kind is on by default. A client connects to the hub's port 8443 alone, and the hub passes the share's connection to the machine's agent.
Mount it on the laptop
- In the laptop's client window, open Files.
- On the share's row, select Configure.
- Type the share user's name in Share username and its password in Share password.
- On Linux, keep the Mount path or type another folder under your home. On Windows, pick a Drive.
- Select Save.
- Select Mount. The button reads Mounting…, then Unmount.
The share is a folder under your home on Linux, a volume in the Finder on macOS, and a drive in File Explorer on Windows. Share and mount files shows the same steps with the prompts each system adds.


Open it on the phone
- In the app, open Files.
- On the share's row, select Open in Files.
- Type the share user's name in Share username and its password in Share password.
- Select Connect.
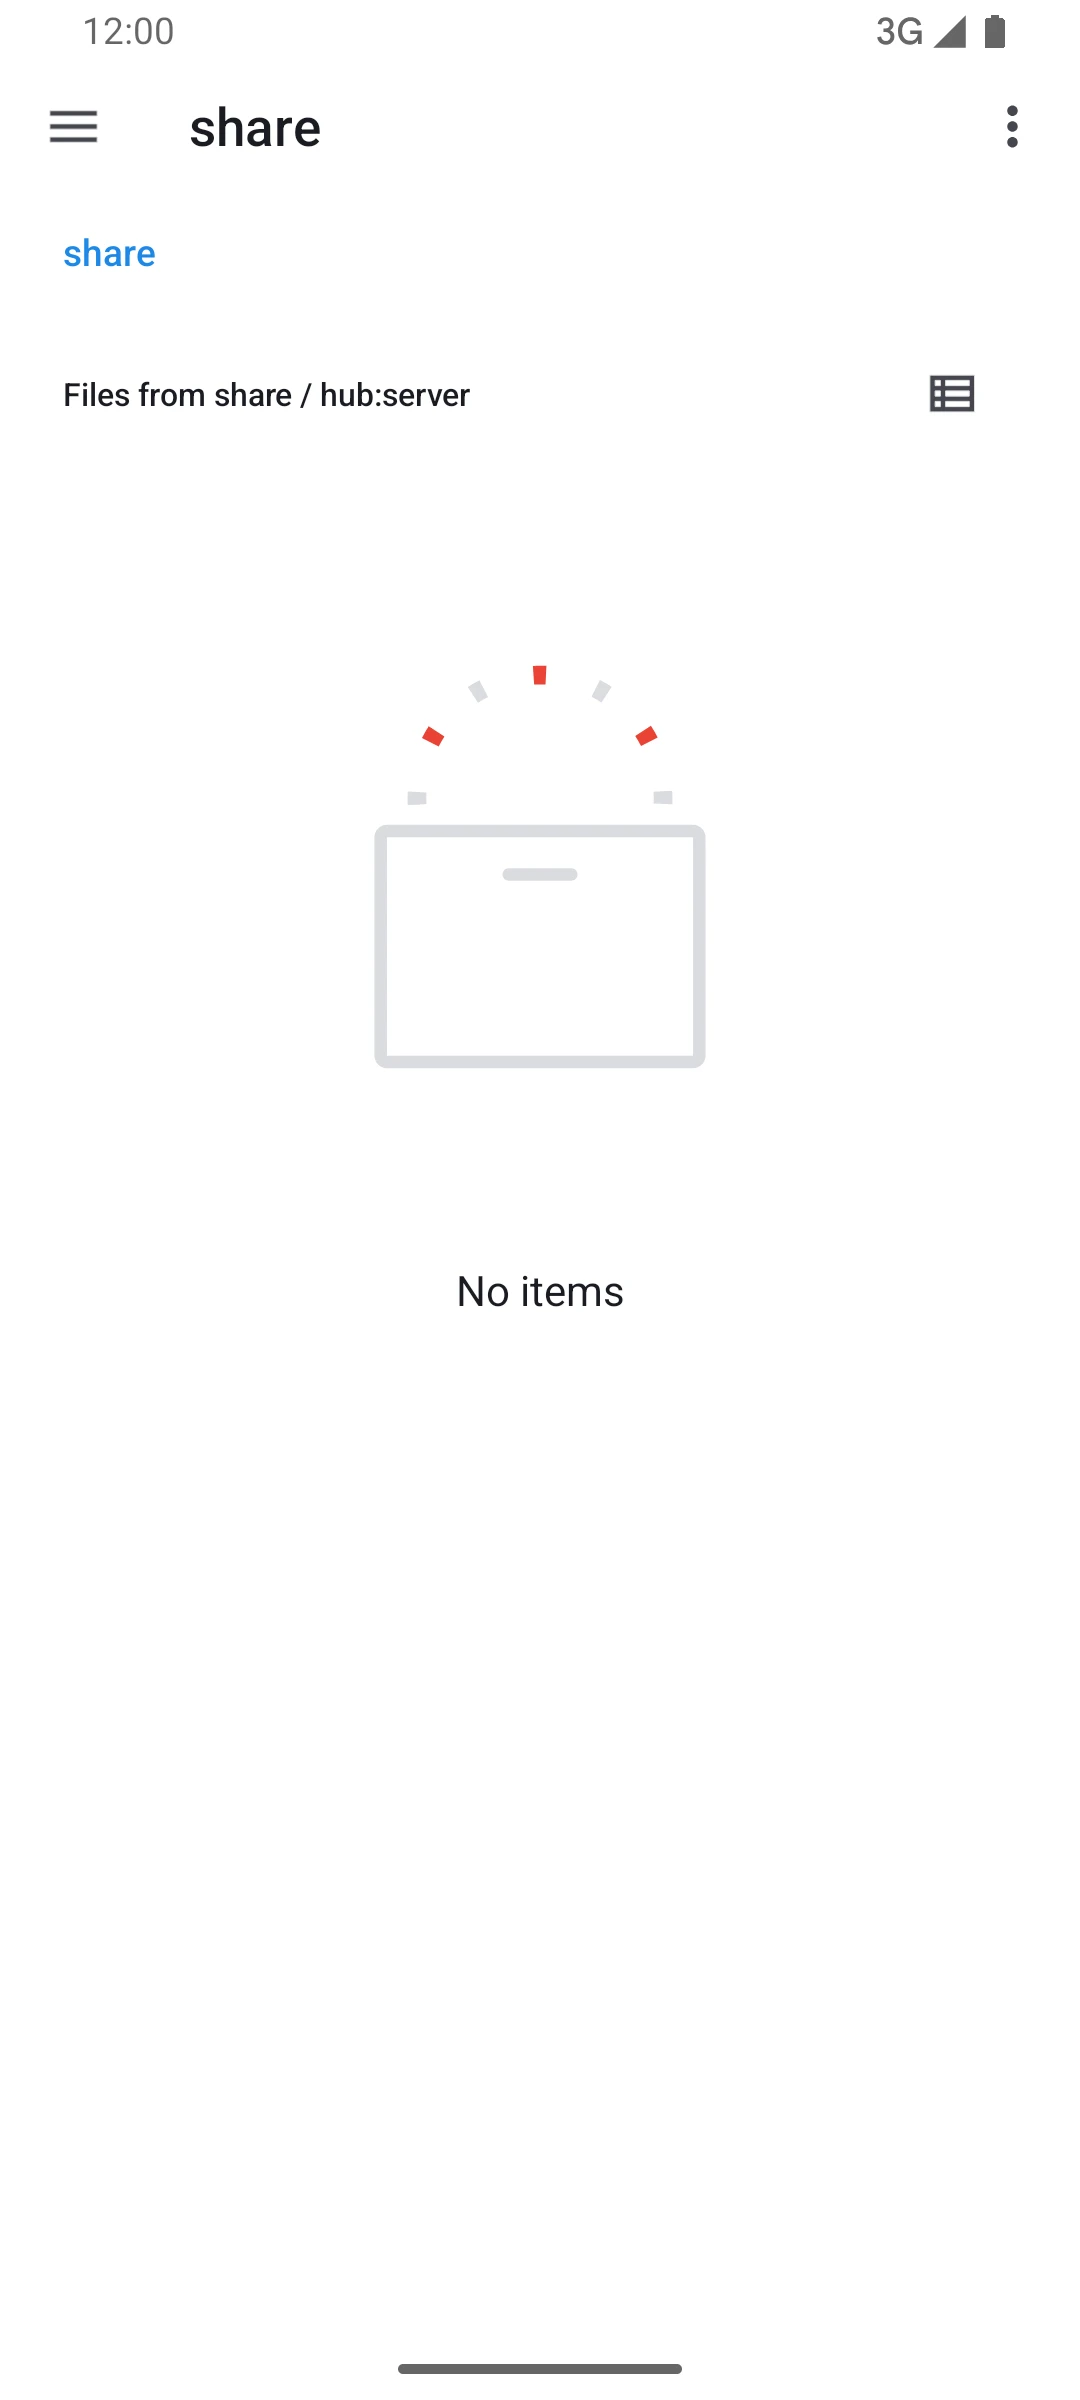
Android's Files app opens the share under its name. Away from home, the laptop and the phone open the share with the same buttons. The hub's row in the client only has to read Connected, through any of the hub's ways in.
Keep the pool healthy
- Scrub on the pool's card reads every block of the pool and checks it against its checksum. The card shows the progress and the time left, and Stop scrub ends it early.
- Each disk in Topology reads SMART ok or SMART FAILING. Select a disk to see its details, and Replace it with a spare disk.
When a mount fails, Troubleshooting lists each code with its fix.